
Game view and display sizes
Test Unity HUD layouts across resolutions, recognize Game tab cropping and distinguish preview scaling from actual camera or UI changes.
On this page
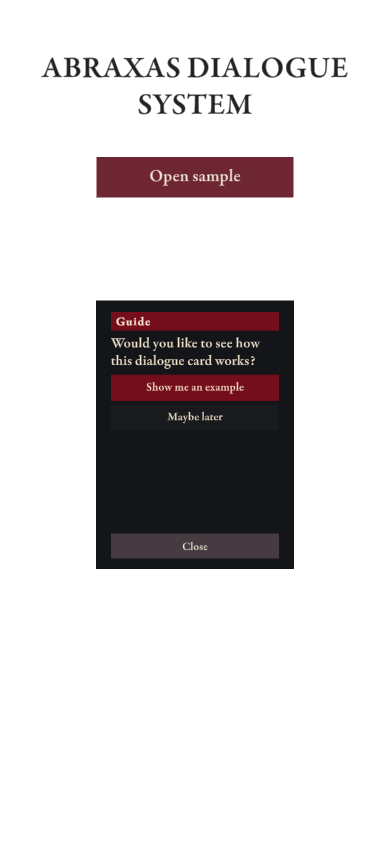
Open a scene with a dialogue card or interaction prompt. Fit the whole frame in the Game window before checking how close the controls sit to the screen edge.
Test a narrow and a wide view#
- In the Game window, choose a resolution or aspect ratio from the dropdown.
- Test a narrow view using a long label and several dialogue replies. Check wrapping, scrolling and focus when using a keyboard or controller.
- Repeat at a larger resolution. Confirm the dialogue and prompts remain inside the usable screen area.
- If you've changed HUD scaling or screen boundaries, test the entire flow in a standalone build as well.
What 1× means#
A 4K frame may be cropped at 1×. Unity renders the Game frame at native pixel scale. If the docked pane is smaller than that frame, you may see only part of it. Reduce the Scale slider to view the full frame in the editor.
| If you need to… | Use… |
|---|---|
| View all four edges of the current frame | Lower Scale until the full frame fits. |
| Inspect the preview at 1× | Choose a lower resolution or enlarge the Game pane. |
| Check how the layout will look in a build | Fit the full frame and repeat the check in a standalone build. |
The Scale slider changes only how the frame is previewed in the editor. If the gameplay view itself needs to be wider, adjust the active camera's lens. To resize an interface built like Quick Start, adjust the Canvas Scaler. If your overlay uses Responsive HUD Canvas, use that component’s size settings.
For more on the preview controls, see Unity’s Game view reference
See Responsive HUD for interface scaling and safe-area setup.